1: Set Up and Fund SolFlare Wallet
1. Connect Ledger Device to SolFlare
Plug in your Ledger, unlock it, and navigate to the Solana app within the Ledger manager.
Navigate to solflare.com and select Create a Wallet.
Select Next several times and then Get Started to navigate through the tutorial.
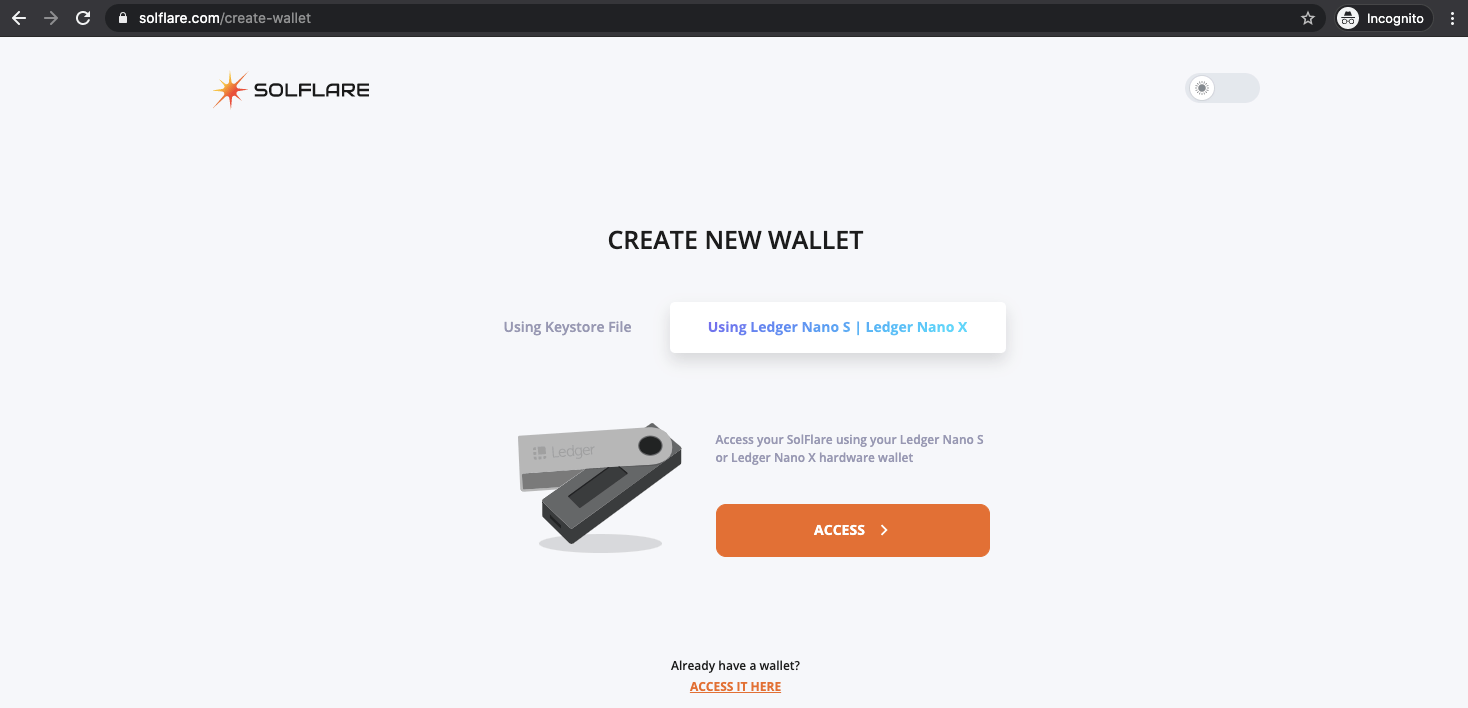
Select Using Ledger Nano S or X and click Access.
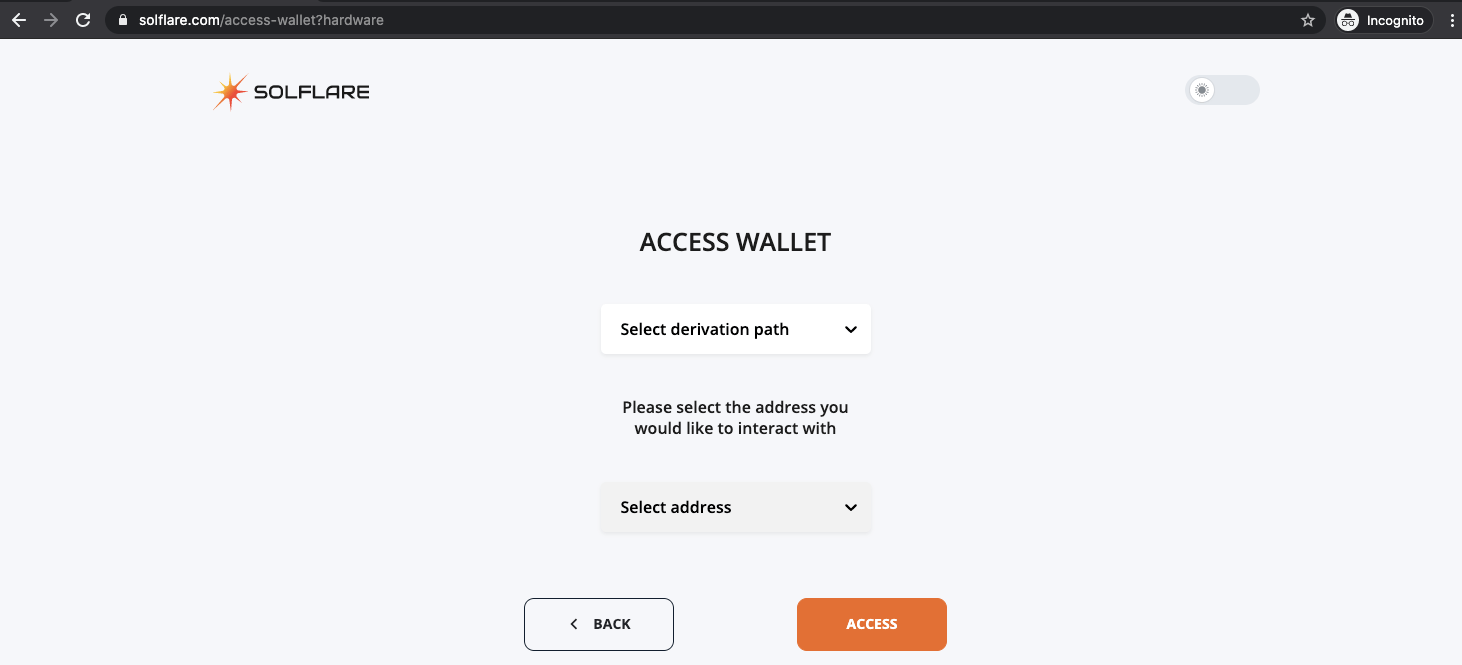
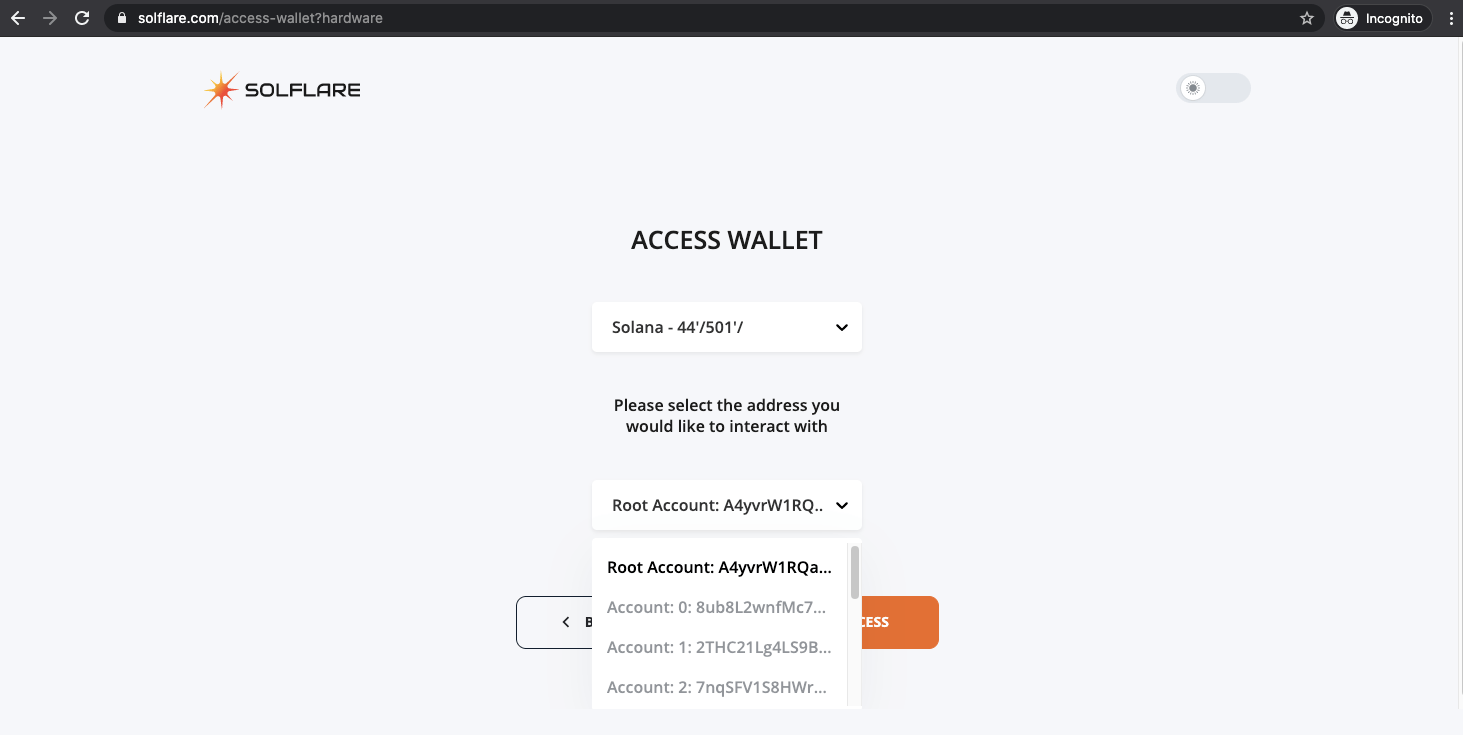
Click the Select derivation path dropdown and select the first option, Solana - 44'/501'/.
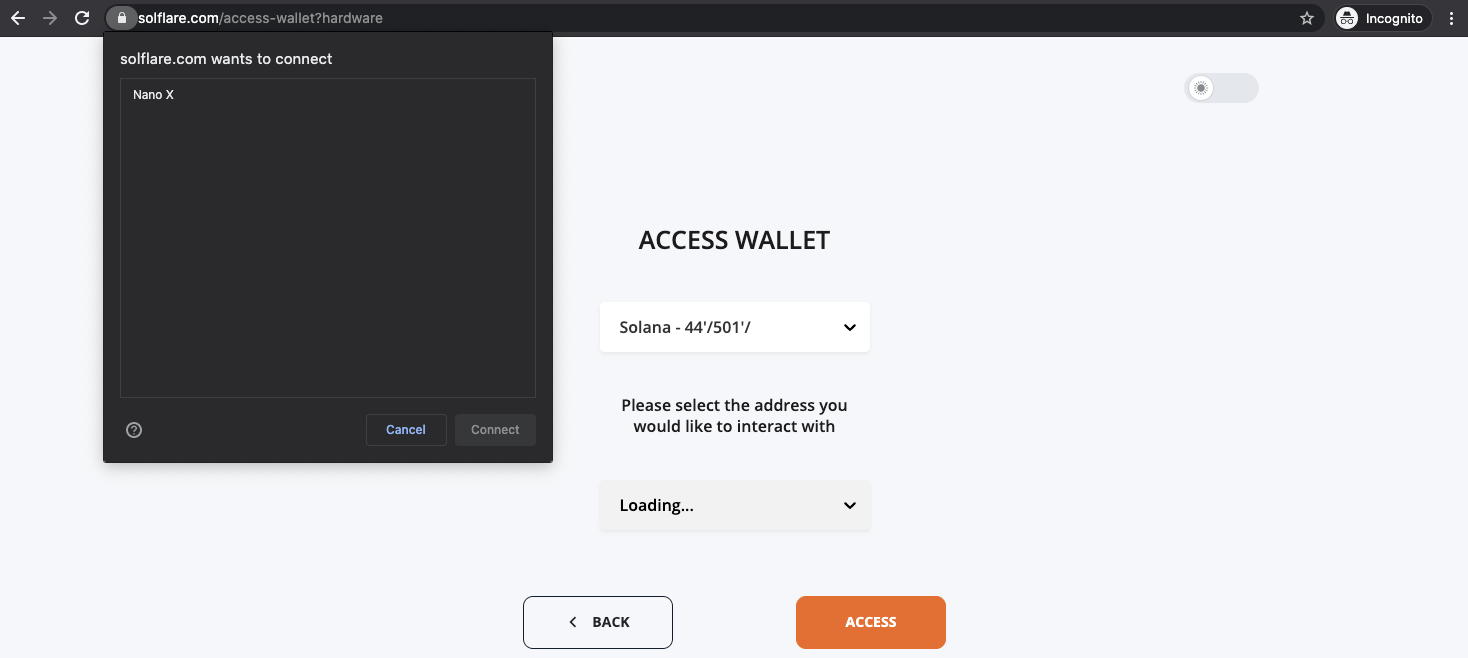
Select your Ledger device from the pop-up screen. If the UI gives you any errors, ensure your Ledger is unlocked and has the Solana app open.
2. Fund SolFlare Wallet
Select your Root Account from the drop-down list of accounts and click Access.
Review the transaction prompt on your Ledger. It should show your pubkey (public address) on the screen. Confirm your address is correct.
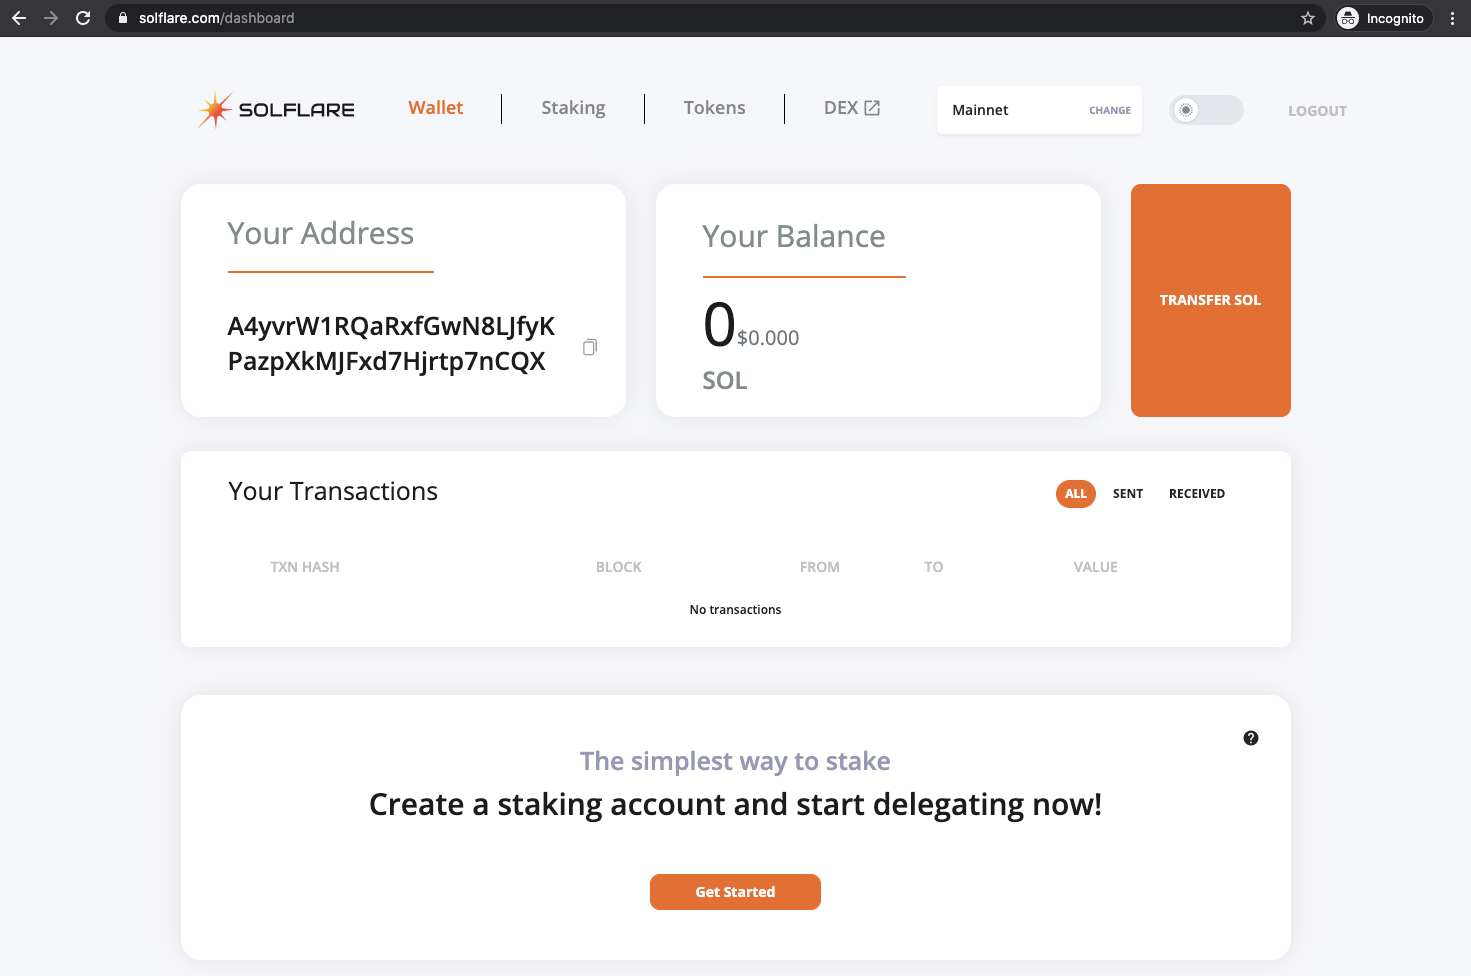
Copy the address that shows under Your Address.
Visit the exchange or wallet where your SOL was purchased/stored, and send your SOL from where it was purchased to the wallet address copied above.
After waiting the network processing time, your SOL balance should show at the top of the SolFlare wallet extension when opened.